When someone wants to buy a product online, they usually check Amazon first. It feels quick and trusted. But small brands, creators, and new sellers often face confusion about how to open a store on Amazon. Some hit setup problems they can’t solve. Others finish the steps but never see any real results.
You can open a store on Amazon by taking the right steps, one after another, in the correct order. A well-built Amazon Storefront matters because it builds trust, highlights your brand, and turns visitors into loyal buyers.
This guide shows how to set up your Seller Central account, build your storefront, and list products correctly. You’ll also learn ways to launch faster, avoid common mistakes, and make your store look professional from day one.
What Is an Amazon Store?

An Amazon Store is a customizable, multi-page storefront that lives inside Amazon. It lets brands display products, share their story, and create a trusted shopping space for customers.
This feature is free to use and available to sellers enrolled in Brand Registry. Think of it like a small website that shows off everything your brand offers, all in one place.
Let’s break down how this is different from regular product listings.
Amazon Storefront vs Regular Listings: A product listing shows one item and competes with similar options from other sellers. On the other hand, a storefront keeps everything in one place and focuses only on your brand.
Design Control: You choose your layout, categories, banners, and product tiles to match your brand’s style.
Brand Focus: It highlights your logo, story, bestsellers, and values in one clean and easy-to-shop space.
What You Need Before You Begin
Before you open your Amazon Store, you must have a few key things ready in advance. Amazon checks your identity, business details, and product data before it approves your account. If you prepare these documents and assets early, you can avoid delays, rejections, or setup issues later.
Required Documents
Amazon needs these to verify your identity, business status, and product legitimacy. Without them, you can’t start.
- EIN (Employer Identification Number): This comes from the IRS and links your store to a legal business.
- Business License: This proves you’re a real company, either as a sole owner or registered entity.
- Bank Account Info: Amazon uses this to send payouts and verify your financial details.
- Phone Number and Email: These must stay active and match the contact info on your Amazon application.
- GTIN (UPC, EAN, ISBN): You need these codes to list and identify each product correctly on Amazon.
Recommended Assets
These extras help your store stand out, look professional, and get stronger results from your first day.
- Trademark or Brand Name: This helps with Brand Registry and protects your storefront from copycats.
- High-Quality Product Images: Clear, sharp images improve listing approval and make your store more appealing.
- Logo and Banner Graphics: These build trust and give your storefront a professional branded look.
How to Open a Store on Amazon (Step-by-Step Setup)

Most people think it’s easy to open a store on Amazon, but that’s rarely the case. Every step must follow Amazon’s rules, and small mistakes often lead to delays or rejected accounts.
Amazon checks your identity, business info, and products before allowing sellers to go live. This guide shows the exact path, so you can open your store correctly and avoid early roadblocks.
Step 1: Create Your Amazon Seller Account
Go to sellercentral.amazon.com and sign up with your legal name, email address, and active phone number. Choose a selling plan that fits your goals. The Individual plan has no monthly fee but includes per-sale charges. The Professional plan costs $39.99 each month and gives access to bulk tools and better reporting features.
After picking a plan, enter your full business details and upload your ID for identity verification. Amazon will ask for a valid credit card, U.S. tax information, and your bank account details. Make sure every piece of information matches your official documents exactly to avoid getting flagged during setup.
Once Amazon verifies your account, you’ll get access to Seller Central. This dashboard is where you’ll manage orders, products, and storefront tools. At this stage, your seller account is active, and you’re ready to move on to building your store.
Step 2: Register Your Brand
You don’t have to register a brand, but doing it unlocks key tools that help your store grow. Brand Registry gives you access to A+ Content, stronger listing control, and tools that stop unauthorized sellers. If you want to look polished and protect your brand, this step is worth your attention.
To qualify, your brand must hold a registered trademark. That trademark should appear clearly on your product or packaging. You’ll also need a government-issued serial number and real product photos that display your brand name. Double-check that your trademark matches the brand name you enter during the application.
After Amazon approves your request, you get access to features that improve your storefront and listing layout. You also unlock tools that let you report listing abuse and stop other sellers from copying your content. If your goal is long-term brand growth, Brand Registry gives you the right foundation.
Step 3: Set Up Your Storefront
After your seller account is approved, you can start building your Amazon Store using the Store Builder tool. Go to your Seller Central dashboard and look for “Stores” in the main menu. Click it, and then select “Manage Stores” to begin creating your first storefront.
Amazon will ask for your brand name, logo, and images before you start customizing. Use a clean logo that matches your product packaging and listing style. You’ll also create a store homepage where you organize categories, add banners, and feature your best products. Keep everything on-brand so your store feels trustworthy.
The Store Builder uses drag-and-drop blocks, so you don’t need design skills to set things up. Choose from pre-built layouts or make your own by adding sections like text, images, and product grids. A clear layout helps shoppers find what they need and makes your brand easier to remember.
Step 4: Add and Optimize Product Listings
Before your store goes live, your products need to be added with complete, optimized listings that meet Amazon’s rules. Go to your Seller Central dashboard and click “Add a Product.” Choose to add items one by one or in bulk using a spreadsheet if you have many SKUs.
Start with a clear title that includes your product name, main feature, and a keyword buyers might search. Add five bullet points that cover the product’s benefits, size, use case, and standout features. Upload at least six images, showing the product from different angles, in use, and with clean backgrounds.
In the backend fields, add search terms that customers use but don’t repeat words already in your title. Strong listings help your products rank higher in Amazon’s search results and improve conversions. If your copy is easy to scan and your images look professional, buyers are more likely to trust your brand.
Step 5: Choose Your Fulfillment Method (FBA vs FBM)
After your listings are complete, you must choose how your products will be packed, shipped, and delivered. Amazon offers two main options. Fulfilled by Amazon (FBA) lets Amazon handle storage, shipping, returns, and customer service. Fulfilled by a Merchant (FBM) means you take care of everything yourself.
FBA is great if you want faster Prime shipping, better customer trust, and less manual work each day. You ship inventory to Amazon’s warehouse, and they handle orders as they come in. Fees are higher, but many sellers see better sales because of the Prime badge and reliable delivery.
FBM gives you more control over packaging, costs, and how you manage your stock. This works better for handmade items, low-volume products, or larger goods with custom requirements. Choose the method that fits your team, budget, and order flow. You can even mix both if it helps your business scale smoothly.
Step 6: Launch and Promote Your Store
Once your storefront and listings are ready, it’s time to publish your store and bring in your first visitors. Go to the Store Builder preview page and double-check every section. Make sure your layout is clean, links work, and product categories load correctly. When everything looks right, click “Submit for Publishing.”
After your store is live, Amazon gives you several tools to promote it. Sponsored Brands lets you run ads that appear across search pages with your logo and custom message. You can also enroll in programs like Vine, where trusted reviewers get free samples and leave early feedback on new listings.
To boost visibility outside Amazon, use Amazon Attribution. This tool tracks traffic from social media, email, or blogs back to your store. It helps you understand what drives clicks and where customers come from. A strong launch plan builds momentum, increases trust, and brings the right shoppers to your store faster.
Step 7: Monitor and Optimize Performance
Launching your store is just the beginning. To keep growing, you need to track how your storefront performs over time. Start by opening the “Store Insights” section inside your Seller Central dashboard. This area shows key metrics like visits, clicks, page views, and conversions.
Use heatmaps to see which parts of your store shoppers interact with the most. If visitors leave without buying, check whether your layout feels confusing or your product placement needs improvement. A small design tweak or better images can often lift your conversion rate.
Make seasonal changes when needed. Add holiday banners, adjust your featured products, or promote new arrivals at the top. A store that stays fresh and easy to browse helps repeat visitors trust your brand. The more you optimize, the more sales your storefront can bring over time.
Is Opening an Amazon Store Right for You?
An Amazon Store isn’t for everyone. It works best when you want more control, better branding, and long-term growth. Before you open one, you need to know if it fits your business model and goals.
Let’s say you’re launching a new skincare brand. You want buyers to see your story, values, and full product line. A storefront lets you group items, feature bestsellers, and show what makes your brand different.
Or maybe you already sell on Amazon using basic listings. Now you want a clean space to display all products. A storefront helps you move from scattered listings to a real brand presence that buyers can trust.
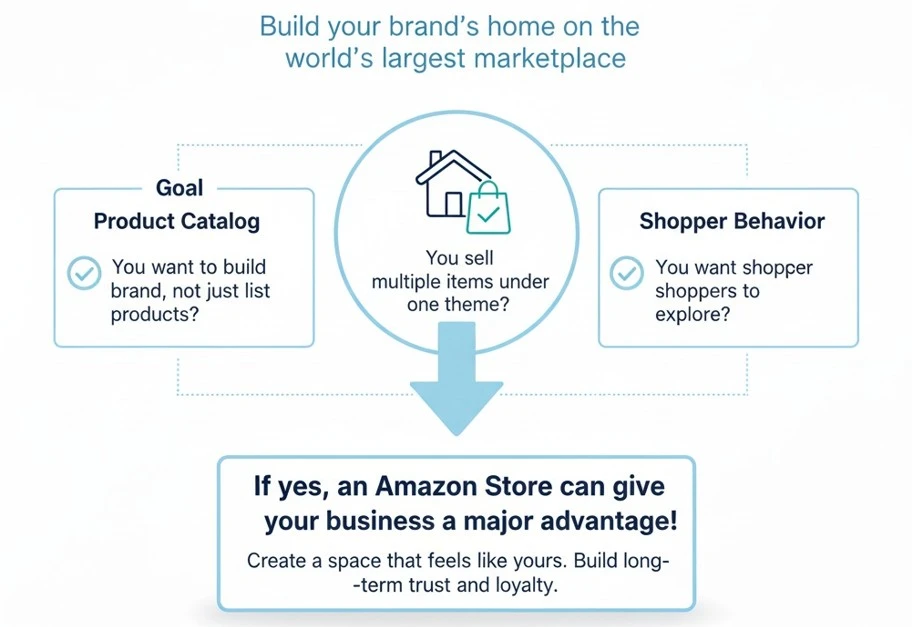
Here’s a quick checklist to help you decide:
- You want to build a brand, not just list products.
- You sell multiple items that belong under one theme or category.
- You want shoppers to explore, not bounce after one product.
If any of these sound like you, then an Amazon Store can give your business a major advantage. It creates a space that feels like yours. It helps shoppers understand your brand and builds long-term trust. This is not just about selling more. It’s about showing up like a real brand inside the world’s largest marketplace.
Common Mistakes to Avoid
An Amazon Store feels exciting at first, but small errors can stop progress before your store even launches. Some sellers move too fast, miss required steps, or add files without checking Amazon’s setup rules.
These mistakes may seem small at first, but they often cause delays, rejections, or account reviews. Early fixes help your store go live faster and prevent bigger issues after final submission.
- ASINs not linked to your store page. Fix this by assigning each product to a tile before submitting your homepage.
- Images that don’t meet Amazon standards. Use white backgrounds, 1000-pixel resolution, and JPEG format for all product photos.
- Mismatch between brand name and trademark. Make sure your applied brand name matches your official trademark exactly.
- Missing or broken navigation links. Test your store layout to confirm each button and menu leads to the correct section.
- Identity documents were not verified correctly. Upload a valid ID, use your full legal name, and match it to your tax details.
- Skipping mobile view during design. Preview your store on mobile to avoid layout issues that may block approval or confuse shoppers.
Frequently Asked Questions(FAQs)
Even after setting everything up, sellers often run into smaller questions that don’t have clear answers anywhere.
Yes. Amazon requires a registered trademark to access Brand Registry, which unlocks the Storefront feature. If your trademark is still pending, you won’t be able to build a store until it’s officially approved.
Yes, but Amazon Stores work better when you sell multiple products under one brand. A single-product store may look empty or incomplete, so consider adding variations, bundles, or upcoming products to build more depth.
You can promote your store using social media ads, email campaigns, influencer posts, and blogs. Use Amazon Attribution to track clicks and performance from outside sources, so you know which channels bring real buyers.
Amazon usually explains what caused the rejection. Fix common issues like missing ASIN links, unapproved content, or layout problems. Once corrected, resubmit the store for review through your Seller Central dashboard.
Yes. You can update layout, banners, and featured products anytime. Each change requires approval again, but reviews are usually fast. Keep your store updated with seasonal content or new launches to keep it fresh.
Store Is Built? Brand’s Bro Fixes What Keeps Sales Stuck
You’ve followed every setup step. But if traffic feels low or conversions look weak, something’s holding it back. It could be missing ASINs, weak content, broken mobile layout, or SEO that isn’t working yet.
At Brand’s Bro, we go beyond launch. We rebuild storefronts, rewrite product listings, write A+ content, and apply Amazon SEO that drives better visibility and real revenue.
If your Amazon Store isn’t bringing the results you expected, we’ll find the issue and fix it fast. From structure to content, we help brands grow with storefronts that actually sell.

