
Your Shopify store gets visits every day. Meta cannot see a single one of them without a pixel. So you may ask, how do I add Meta Pixel to my Shopify store? The short answer sits inside your admin. You open Sales channels, then Facebook & Instagram, then Settings, then Share data settings.
That path takes about ten minutes. The hard part starts after. Meta learns from the events it receives, so a quiet gap in your conversion tracking pushes up your cost per sale.
One more thing before you start. Shopify switches off the old Additional Scripts field for non-Plus stores on August 26, 2026. This guide shows how to add Meta Pixel to Shopify the right way, and how to spot the old way before it breaks.
What the Meta Pixel Records on a Shopify Store
Meta Pixel is a small piece of code. It sits on your store and watches what shoppers do there. Meta called it Facebook Pixel for years.
The company renamed it, but the job never changed. Meta Platforms owns the tool, and it works the same on every website. Every pixel carries its own number, and that number is the Pixel ID. Meta now shows the same number as a Dataset ID in newer screens.
Here is the part most guides skip. The pixel collects whatever you tell it to collect. Out of the box it tracks a short list of shopper actions, and each one has a name.
What it tracks by default
The pixel watches your visitor move through the store and notes each step. Your Facebook Pixel Shopify integration sends a short note to Meta for every action below.
- Page data. Which pages a shopper opens, from your homepage to a collection page to a single product page
- Content data. Which product someone views, along with its ID, name and price
- Add-to-cart data. The moment a shopper drops an item in the cart
- Checkout data. When someone starts checkout and when they add payment details
- Purchase data. The completed order, its value and its currency
What you can add on top
The default list covers most stores. You can also track custom actions when you need them. Scroll depth is a common one, showing how far down a page a shopper reads. Button clicks and video views work the same way.
Each extra event needs a little setup, though the idea stays simple. You decide what matters, and the pixel records it. The pixel can only send what your data settings allow, so that choice comes first.
How Much Data Should You Send Meta
Your data-sharing level decides how much ever reaches Meta. Many sellers click straight past this screen without a second thought. That choice is worth a minute of your time, because the three levels send very different amounts.
What each level sends
Standard sends browser events alone. The pixel fires from the shopper’s device and nothing else happens. Enhanced adds the Conversions API. Your Purchase event now travels server to server, so ad blockers cannot stop it. Maximum adds Meta’s newest advertising technology on top of that.
Enhanced and Maximum may also share name, email, phone and location. Those are first-party customer data points, and they lift your match rates. Sellers who want help weighing the trade-off can lean on Meta marketing services before they pick a level.
Rules differ by region and business type. So your own obligations need checking with someone qualified.
The setting Shopify changed on its own
Shopify made a quiet change on January 13, 2026. App pixels now default to a mode called Optimised instead of Always on.
Optimised lets Shopify pause a pixel it judges low on useful signal. It touches app pixels only, so a custom pixel you wrote runs exactly as written. Server-side data through the Conversions API keeps flowing too.
One catch makes this worth knowing. Shopify sends no alert when it pauses a pixel. You find the switch under Settings, then Customer events, then the App pixels tab, and set any pixel to Always on if you want every event through. With your data level sorted, the setup itself takes just a few clicks.
How to Add the Meta Pixel to Your Shopify Store
Setup fails more often from missing access than from bad code. So you sort every account out before you touch a single setting. This part takes ten minutes and saves hours later.
The whole job breaks into three stages. You get your accounts ready, you pick one of two install routes, then you connect the pixel and confirm it fires. None of it needs a developer, and most stores finish inside half an hour.
Set up your accounts and access first
You need a few things ready on the Meta side. A business portfolio, Ads Manager and Events Manager, plus a Facebook Page and an Instagram business account.
Here is the mistake that costs people hours. Some sellers build a pixel under a personal profile instead of the business portfolio. The pixel works, but it never shows up when you build a campaign later.
The Shopify side is shorter. You need admin access with permission to install apps, a live theme and a published storefront. Password-protected stores block the pixel from firing, so you lift that protection before you test.
One more step saves trouble down the line. Meta wants proof you own the store, and Shopify builds that proof for you. You go to Settings, then Domains, click your primary domain, and copy the tag Shopify generates under Meta pixel verification.
Pick your install route
Access is sorted, and now you pick a route. Two main paths suit most stores, and a third helps if you already run a tag manager.
- Facebook & Instagram sales channel. No code at all. It handles the pixel and the Conversions API together, and it suits most Shopify stores.
- Custom pixel under Customer events. More control, and more work. It runs in a locked sandbox that blocks outside scripts and the window object.
- Google Tag Manager. This one helps with setup rather than doing the whole job. Teams already on GTM use it to shape events, though the pixel still connects through Shopify.
Most beginners want the first route. The next two sections walk both main paths step by step.
Set it up through the Facebook & Instagram channel
This is the no-code path, and it wires the pixel and the Conversions API in one go. You start in your Shopify admin.
First you add the sales channel. Open Sales channels, add Facebook & Instagram, then connect your business portfolio, your Page and your Instagram account. Meta asks for a set of permissions, and you accept them.
Next comes the part that matters. You open Settings inside the channel, then Share data settings. Turn on customer data sharing, pick your level, and select your pixel from the list.
Meta rebranded this app, so older screenshots may look different. Do not panic if the layout has moved. A fresh pixel also shows no data until real shoppers arrive, and that quiet first day is normal.
Set it up with a custom pixel
The custom-pixel route gives you more control over what fires and when. It also asks for a little copy and paste. You reach it under Settings, then Customer events.
The steps run in a clear order, confirmed by Shopify Support:
- Click Add custom pixel, then give the pixel a unique name
- Click Add pixel to open the event editor
- Paste your Meta base pixel code into the Code window
- Click Save, then click Connect pixel to start tracking
One detail trips people up here. A custom pixel sits in a sealed sandbox, so it cannot reach outside scripts or the window object. That keeps checkout secure, and it means your code has to use Shopify’s own event subscriptions to catch actions like checkout_completed. With the pixel connected, the next job is knowing which events should fire and in what order.
The Events Your Pixel Tracks, and Which One Matters Most
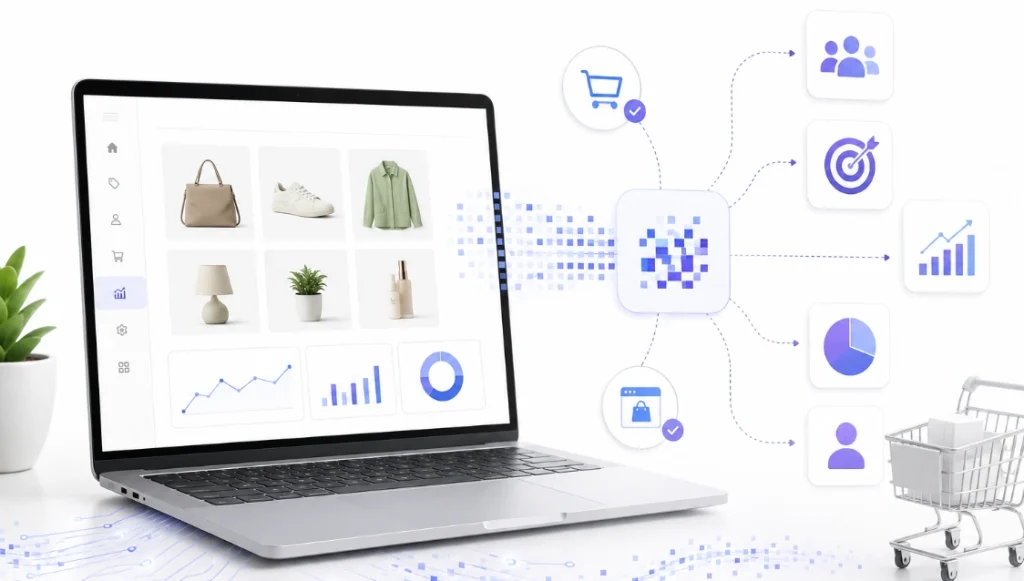
Your sharing level decides how data travels. The events decide what that data says once it lands. Meta reads them and builds its picture of your buyers from there.
Not every event carries the same weight. A page view tells Meta far less than a completed sale does. So it pays to know the full list, and to know which one you protect first when tracking gets limited.
What each event means and where it happens
An event is just a shopper action the pixel notices. Each one has a name, and each fires on a certain page.
PageView fires on every page. ViewContent fires when someone opens a product. AddToCart fires the moment a shopper drops an item in the cart.
InitiateCheckout fires when checkout starts. AddPaymentInfo fires part way through. Purchase fires on the thank-you page, and that one carries the money.
Each event brings parameters with it. Content ID and product ID name the item. Order value and currency say what it sold for, and Meta Pixel Shopify conversion tracking falls apart when those go missing.
Why the order you list them in matters
Apple changed its tracking rules back in 2021. Shoppers can now block tracking with one tap. Meta built a system called Aggregated Event Measurement to cope with it.
Here is the part that catches people out. For a shopper who blocks tracking, Meta counts only one action from that whole visit. It picks the one you marked as most important.
So you tell Meta which event to keep. Purchase goes at the top of that list, above AddToCart and ViewContent. Put a smaller event on top by mistake, and a real sale can go uncounted.
Note for the client before publishing: sources conflict on whether the Aggregated Event Measurement tab still exists. Open Events Manager and confirm the Configure Web Events flow is present. If Meta has removed it, cut this subsection to two sentences.
How to Test Browser and Server Events
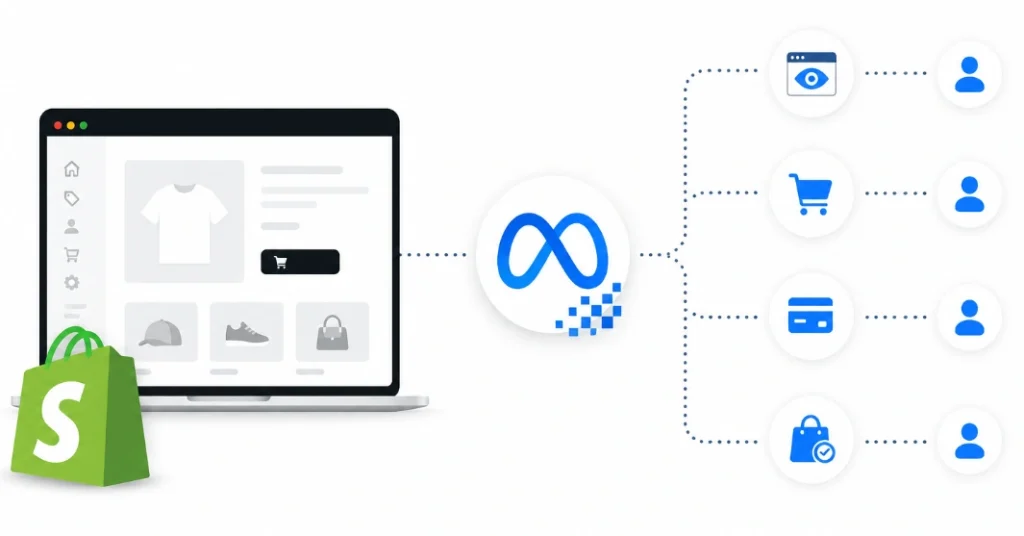
Knowing what should fire helps nothing until you watch it happen. Plenty of stores run for months on a pixel nobody checked. The owner finds out when sales stop matching the ad reports.
Three tools cover the job, and each one sees something different. You want all three before you trust a setup.
Meta Pixel Helper
This is a Chrome extension. It reads browser events and nothing else.A green check means the event arrived. Yellow or red means something broke in the setup, and the note beside it tells you what.
Shopify Pixel Helper
Shopify launched its own tool on June 21, 2024. You start it from your admin under Settings, then Customer events.
It shows events in real time with the full payload attached. Sometimes it says “Pixel is awaiting consent” instead, which means tracking permission has not been given yet. You accept the cookie banner or click Give consent to continue test, and some pixels need a page reload before they show as loaded.
Testing this way costs nothing. That matters when you weigh it against what Shopify ads cost every single month.
Meta Test Events
This tool sees server traffic. The other two cannot. Open it and confirm your key events read as “Browser and Server”. Aim for a Purchase Event Match Quality score of 6 or above as a working target. Then you walk the full path yourself, from homepage to product page to cart to checkout to one real test order.
The August 26 Deadline That Breaks Older Setups
Your setup can pass every test above and still fail next month. No tool flags this one for you.
Shopify deprecated the Additional Scripts field. Any JavaScript sitting in it stops firing after August 26, 2026 for non-Plus stores. Web Pixels under Settings, then Customer events, replaced it, and Plus stores already passed their own cutoff back in August 2025.
Shopify has been auto-upgrading Plus stores since January 2026. Non-Plus stores get the same treatment on the deadline itself, with legacy checkout customisations stripped out in the process. You can see your own status under Settings, then Checkout, where a yellow warning banner means deprecated scripts are still present.
The damage has already started for some stores. Shopify stopped passing full customer data to those old scripts ahead of the date, so attribution is leaking right now on stores that have not moved. Purchase is the event most likely to live in that old field, and it dies without a sound while every other event keeps working.
Reasons Your Shopify Meta Pixel Not Working, and the Fixes
Old code left behind causes a second kind of problem. That one shows up as numbers too high, not too low. The faults below cover almost every broken setup we see.
Each fault has one clear cause and one clear fix. The early ones are the most common, so you start at the top.
Pixel Helper finds nothing, but Events Manager says active
Your setup is probably fine here. Enhanced and Maximum send events from Shopify’s server, so they skip the browser. The extension reads browser traffic alone.
Check your sharing level before you worry. A store on Standard should still show browser events in the helper, and nothing at all on Standard points at a genuine fault. Test Events is where you look for server data, and it sits inside Events Manager under your pixel.
Duplicate Purchase and AddToCart events
The native app is running beside leftover theme code or a second pixel app. You remove the old snippet and audit Customer events for extras. Then you confirm event_id deduplication is working, which is the tag that tells Meta two records are the same sale.
Here is a quick sanity check. Compare your real Shopify orders against Meta-reported conversions for the same week.
A gap that wide is worth investigating, since Meta reporting well above your true order count usually means a duplicate. A Facebook Ads agency will run this exact check during any tracking audit.
Purchase missing while everything else fires
Blame the order status page for this one. Old scripts there no longer run after the checkout upgrade. Your other events keep firing, so the setup looks healthy.
That gap hides the number you care about most. A web pixel under Customer events takes over the job, and you rebuild the Purchase event there before testing one live order.
Your pixel worked at launch and quietly decayed
This one is new, and it traces back to that Optimised default. Shopify may have paused your app pixel weeks after a clean install, with no alert at all.
The sign is a slow drift between your Shopify order count and your Meta event count. No app change and no theme change explains it. You open Settings, then Customer events, then the App pixels tab, and switch the pixel back to Always on.
Pixel is active but absent when you build a campaign
Your ad account is not assigned as a pixel asset. The pixel works fine and sends data as normal. It just stays invisible inside the campaign builder.
You open Events Manager and find the asset settings there. The ad account goes in as an asset, then you reload Ads Manager. A hard refresh helps when the change takes a moment.
Ad blockers eating your browser events
Ad blockers stop the pixel from reaching Meta at all. You switch them off before any test run, and a private window with no extensions works well too.
Real shoppers keep their blockers on though. That lost traffic is the strongest case for server-side delivery, and it explains why sellers search how to install Facebook Pixel on Shopify twice.
Privacy Settings That Change What the Pixel Collects
Fixing the count is one job. Keeping it honest across regions is another. Shoppers in some countries must agree before any tracking starts at all.
Your store settings control that behaviour. A handful of options decide what your pixel may record and when it may record it.
- Your cookie consent banner
- Marketing consent and analytics consent
- The collect-before, partially, or after-consent option
- The Customer Privacy API
- Browser tracking prevention
- iOS tracking restrictions
Rules change by region and by business. So a lawyer or your own compliance team should confirm what applies to your store.
How Clean Event Data Lowers Your Cost Per Sale
Consent decides what gets recorded. What gets recorded decides what your ads can learn. ViewContent and AddToCart build website custom audiences. Those audiences power abandoned cart retargeting. Sellers ready to run Facebook ads for ecommerce need all of that in place before they spend a dollar.
Purchase data builds lookalike audiences. It also lets you exclude past customers from cold campaigns. Your product catalog feeds dynamic product ads, so shoppers see the exact item they browsed.
There is one more reason to care. Meta needs steady Purchase data to leave the learning phase. Thin data keeps campaigns stuck there, and stuck campaigns waste money.
Frequently Asked Questions (FAQs)
Setup questions keep coming back from Shopify sellers who already have a pixel running. These six cover the ones we hear most often after the install is done.
Is the Meta Pixel free to use?
Yes, the Meta Pixel itself costs nothing to install or use. You pay only for the ads you choose to run. Events Manager, Test Events and the Conversions API stay free as well.
Should I install the pixel before I run any ads?
Yes, install it as early as you can. The pixel gathers data from your organic traffic in the meantime. Your first campaign then starts with usable audience data behind it.
Does the Meta Pixel slow down my Shopify store?
One pixel adds very little weight to your pages. The script loads alongside your theme rather than blocking it. Speed problems tend to start when a store stacks several tracking pixels together.
Will changing my Shopify theme break my pixel?
Not if you connected it through the Facebook & Instagram channel. That setup lives outside your theme files. A pixel pasted into theme.liquid by hand does disappear when you switch themes.
Can I use one Meta Pixel across two Shopify stores?
You can, though the data from both stores mixes together. Separate pixels give you cleaner reporting for each brand. Most stores do better with one pixel each unless both sell the same catalog.
What does "Missing customer information parameters" mean?
This warning is not a broken pixel. Meta is asking for more match keys such as phone or email. Phone number collection at checkout lifts your match quality and clears the notice.
Get Your Tracking Checked Before You Spend Another Dollar
You now have the whole path in front of you. It starts with one pixel and ends with events you can trust.
The deadline is the part that cannot wait. Old checkout scripts stop firing for non-Plus stores on August 26, 2026, and a store that misses it loses Purchase data without any warning.
Most sellers never audit the pixel they installed. They keep spending while Meta learns from numbers that do not add up. A single duplicate event can skew a whole month of reporting.
How do I add Meta Pixel to my Shopify store? The full answer sits in the steps above. A tracking audit takes an hour and shows what your setup misses. Book yours before the next campaign goes live.
