Connecting PayPal to Shopify is one of the fastest ways to make your store more trustworthy and easier to buy from. Many customers prefer PayPal because it feels familiar, secure, and convenient. If your Shopify store does not offer the right payment options, you may lose buyers at the final checkout step.
At Brand’s Bro, we have spent over 11 years helping Shopify and ecommerce brands set up payment systems, improve checkout experience, and increase sales performance. Our team has worked with 350+ Shopify businesses across the USA, Canada, the UK, and Australia, including brands in fashion, beauty, home essentials, electronics, lifestyle, and health-focused ecommerce.
We have seen Shopify stores lose revenue simply because payment options were limited, PayPal was not configured properly, or checkout trust signals were weak. In one Shopify lifestyle project, we fixed PayPal setup issues, improved checkout flow, and cleaned payment-related errors. Within 45 days, checkout completion improved by 34%, and monthly revenue increased by 96%.
For a home goods Shopify brand, we connected PayPal, optimized payment settings, and improved the checkout experience for mobile users. As a result, abandoned checkout cases dropped by 27%, and successful order completion became more consistent.
Connecting PayPal to Shopify is simple, but doing it correctly matters. You need to activate the right PayPal account, check payment settings, test checkout, confirm currency support, and make sure customers can complete purchases without friction.
In this guide, we’ll explain how to connect PayPal to Shopify fast and easy, including setup steps, account requirements, payment testing, common errors, and checkout tips for beginners.
If your Shopify store has payment issues, checkout errors, or low order completion, Brand’s Bro can help you set up and optimize your Shopify payment system properly. You can book a meeting with us today.
Why Integrating PayPal with Shopify is Essential for Your Store
Adding PayPal isn’t just a technical step. It’s a smart business decision that can directly increase your sales. Today’s shoppers are busy and cautious. When they see the PayPal logo, they feel more at ease because they know they can check out quickly without searching for their credit card.
Beyond trust, the benefits are practical. PayPal helps improve your conversion rate by making checkout faster and easier. Features like One Touch allow customers to pay without entering their details every time.
It also introduces flexible payment options like PayPal Pay Later, which can encourage customers to spend more. On top of that, PayPal adds an extra layer of security with strong fraud protection.
Here’s what that means for your store:
- Customers complete purchases faster with saved payment details
- Pay Later options can increase average order value
- Mobile checkout becomes smoother and more user-friendly
- You can accept payments from customers around the world
- The PayPal brand builds instant trust at checkout
Pre-Integration Checklist: What You Need Before You Start
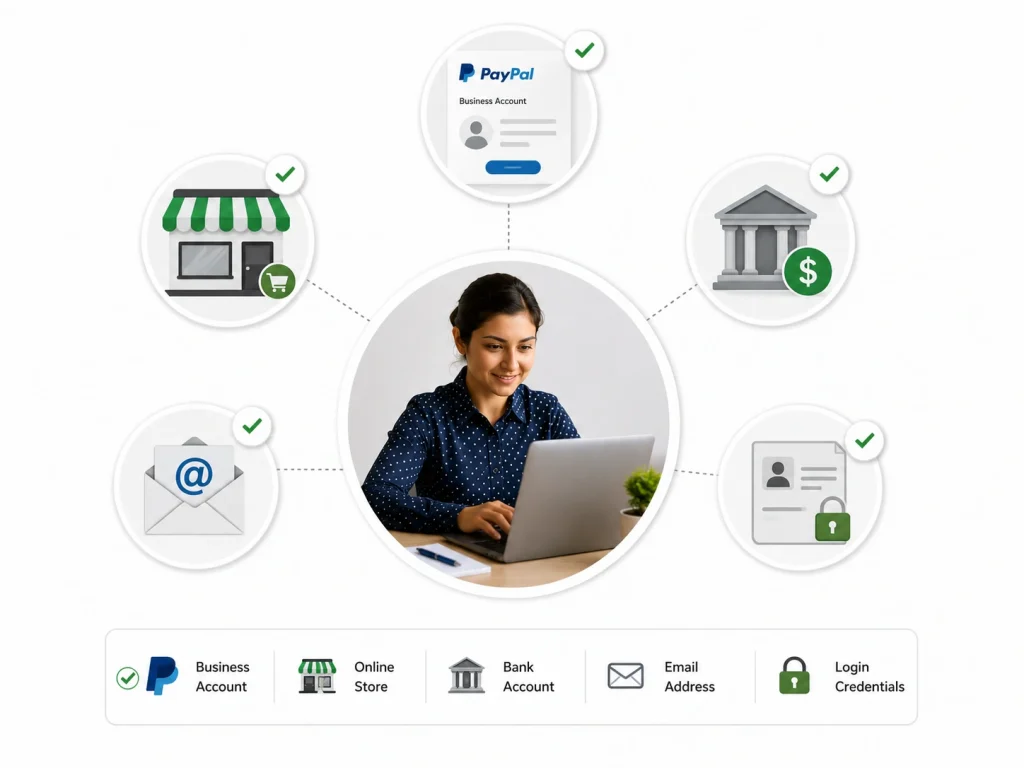
Before you dive into the settings, you need to prepare. Nothing is more frustrating than stopping halfway through a setup because you are missing a password. To ensure the process is smooth, gather these items first.
Most importantly, you need a PayPal Business account. While you can link a Personal account, it is not designed for selling. A Business account allows you to accept credit card payments from customers who do not have a PayPal account.
It also unlocks advanced reporting. Before you start the technical steps, make sure you have signed up for a Business account on the PayPal website.
- Active Shopify Plan: You must be on a paid plan like Basic Shopify. (If you are just getting started, check out how you can build a Shopify store).
- PayPal Business Account: A verified Business account is the standard for merchants.
- Admin Access: You need login details for both Shopify and PayPal.
- Matching Currency: Ensure your Shopify currency matches your PayPal currency.
How to Activate PayPal Express Checkout on Shopify
Shopify has made this process very simple. Because PayPal is so popular, Shopify has built a direct link for it. You do not need coding skills. You just need to follow a few clicks in your dashboard.
Start by logging into your Shopify admin panel. Look at the bottom left corner for the “Settings” gear icon. Click that, and select “Payments” from the menu on the left.
This is your control center for money. You will see a section for PayPal. Usually, Shopify creates a basic PayPal account for you automatically.
However, you want to link your own Business account. Correctly linking your specific account ensures the funds land in the right place.
- Navigate to Settings: Click the gear icon in your Shopify dashboard.
- Select Payments: Choose the payments option from the menu.
- Locate PayPal: Find the “PayPal Express Checkout” section.
- Click Activate: Select the button to connect your account.
- Log In: A window will pop up asking you to log into your PayPal Business account.
- Grant Permission: Click “Agree and Connect” to let Shopify process payments for you.
- Confirm: You will go back to Shopify. Click “Save” to finish.
BrandsBro helps you connect PayPal to Shopify properly, so your store can accept secure payments without setup confusion or checkout errors.
Need help with Shopify payment setup? Book a free meeting and let us configure PayPal for your store.
How to Connect PayPal to Shopify With Manual Setup
Sometimes the automatic connection does not work. Perhaps you have specific account settings. In these cases, you need to manually input your API credentials. This sounds technical, but it is just a copy-and-paste job. Manual setup gives you control over the permissions.
To do this, you need to get specific keys from your PayPal account. These keys tell PayPal that the request is coming from your Shopify store. Log into your PayPal Business account. Go to “Account Settings” and look for “API Access.” You need to generate an API Signature.
This includes a Username, Password, and Signature. You will not see it again after you generate it, so copy it immediately. This is a critical step for manual integration.
- Get Credentials: In PayPal, go to Account Settings > API Access.
- Generate Signature: Select “Request API Credentials” and choose “Request API Signature.”
- Copy Details: Save the API Username, Password, and Signature securely.
- Return to Shopify: Go back to Settings > Payments > PayPal > Edit.
- Paste Credentials: Enter the information into the corresponding boxes in Shopify.
- Save: Click “Save” to establish the link.
Configuring PayPal Payment Preferences in Shopify
Once the accounts are linked, you are not quite done. The default settings are usually fine, but checking them can improve your workflow. You have control over how payments are captured. Ignoring these settings is leaving money on the table.
You have two options: “Automatic” or “Manual” capture. Automatic capture is the standard. The customer pays, and the money moves to your PayPal instantly. Manual capture is useful for pre-orders.
It puts a hold on the funds but does not take the money until you approve it. This prevents you from charging a customer for an item that is out of stock. Deciding which method suits you is part of mastering the payment setup.
Enabling "Pay in 4" and Pay Later Options
Customers love flexibility. “Pay in 4” lets a shopper split their purchase into four payments. If you do not enable this, you lose sales to competitors.
In your Shopify payment settings for PayPal, ensure the “Pay Later” messaging is active. This displays a banner on your product pages. It is a powerful trigger that reduces price shock. Enabling this feature is crucial for maximum sales.
Setting Up Authorized vs. Captured Payments
If you sell custom items that take time to make, manual authorization is your friend. When an order comes in, the system secures the funds. You have a window (usually 29 days) to capture the funds when you ship.
If you cannot fulfill the order, the authorization expires. The customer is never charged, and you avoid refunds. This safety is why understanding the full process involves more than just the initial connection.
Troubleshooting Common PayPal and Shopify Connection Errors
Technology is great only when it works. When it doesn’t, it can be frustrating. Errors usually stem from small issues. Do not panic if you see an error message. Most problems have simple fixes.
One frequent issue is email confirmation. If your PayPal email is not confirmed, Shopify cannot link it. Go to your PayPal profile and ensure your email shows as “Confirmed.” Another common headache is the “Gateway Rejected” error.
This happens if your PayPal account has restrictions or if the credentials were wrong. Even a stray space at the end of a password can break the link. Troubleshooting is part of the process when setting up your gateway.
Error: "PayPal Gateway Rejected the Request"
This error usually points to a security filter on the PayPal side. PayPal checks for fraud.
Sometimes, legitimate stores get flagged. First, check if your account is verified. A verified account has a linked bank account. Second, check your API permissions.
In PayPal, ensure that Shopify is listed as an authorized third-party. Fixing this rejection is a key step in resolving the link successfully.
- Check Verification: Ensure your PayPal account is “Verified.”
- Update API: Regenerate your API signature and enter it in Shopify again.
- Contact Support: If the error stays, contact PayPal Merchant Technical Support.
Currency Mismatch Issues
Your Shopify store might display prices in USD, but your PayPal might be set to receive funds in EUR. This causes payments to fail.
To fix this, go to your PayPal “Money” settings and open “Currency Manager.” Ensure you hold balances in the currencies you sell in.
Alternatively, let PayPal handle the conversion. Aligning your currencies prevents blocks and ensures your payment flow runs smoothly.
Best Practices for Managing PayPal Orders on Shopify
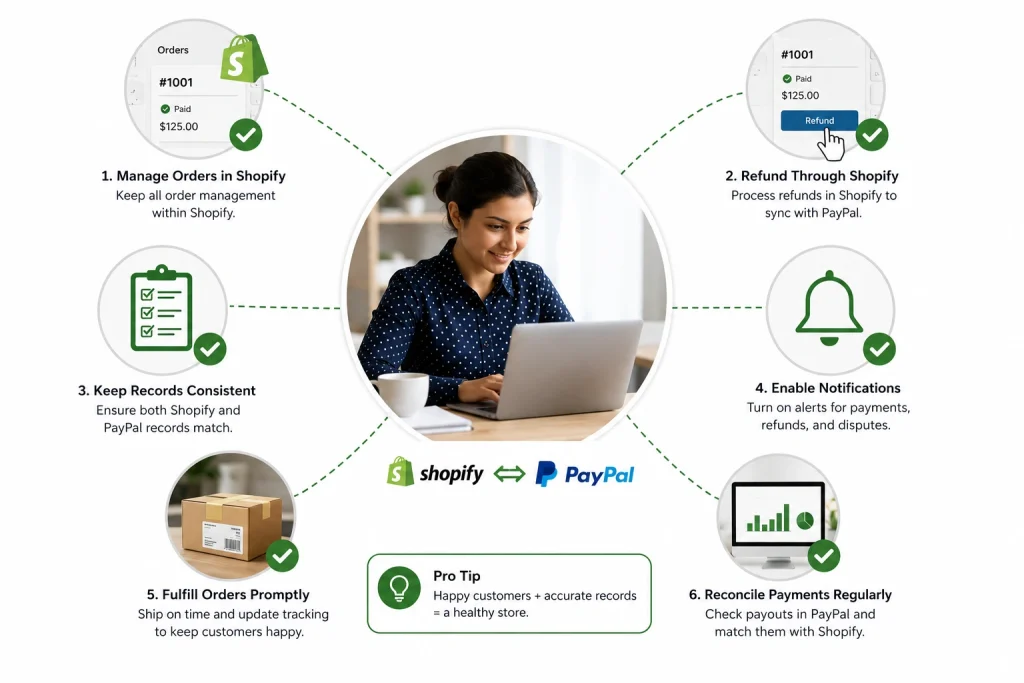
The connection is live. Money is coming in. Now, you need to manage and sell those customers efficiently. Treating your PayPal and Shopify dashboards as two separate worlds is a mistake.
When you refund a customer, do it through Shopify, not PayPal. If you refund directly in PayPal, Shopify will not update. The order will remain marked as “Paid” in Shopify, messing up your records.
Always process refunds through the Shopify order page. Shopify will tell PayPal to return the funds. This keeps your books balanced. Managing orders correctly is just as important as the technical setup.
- Sync Tracking Info: Always input tracking numbers into Shopify. Shopify sends this to PayPal automatically.
- Release Funds: Providing tracking info helps release held funds faster.
- Seller Protection: Ensure every order has a verified address to qualify for protection.
- Unified Refunds: Process all returns through Shopify to maintain order synchronization.
Frequently Asked Questions(FAQs)
Many store owners have questions even after the setup. Let’s address the most common ones to ensure you know everything you need.
Technically, you might link it, but you should not. A personal account lacks features like “Guest Checkout.” Upgrade to a Business account to unlock the full potential of the platform.
PayPal payments are instant. The money lands in your PayPal balance immediately. Transferring that money to your bank takes time. Standard transfers take 1-3 business days.
No. You do not need a credit card to set up PayPal. You need a bank account to verify your identity and withdraw your earnings.
PayPal has a Resolution Center. If a customer files a dispute, respond immediately with proof of delivery. If you shipped to a verified address with tracking, PayPal’s Seller Protection often covers the cost.
Start Accepting Payments Instantly
The next step is clear. You know exactly how to connect PayPal to Shopify to streamline your checkout. This step builds trust. It makes buying easy.
This integration is a promise to your customers. Safe. Simple. Quick. Go to your settings now. Turn it on. Run a small test. Check that it works. When the first payment clears, you will see the result. The setup pays off.
You have removed a barrier between your products and your customers’ wallets. Buying feels smooth. Now, you can focus on growing your business. To ensure your store reaches its full potential, make sure to review our essential Shopify SEO checklist.


